Your Partner in Biomedical Research Computing
The School of Medicine Research Enclave (SRE) collaborates with Duke researchers to identify, design, and implement innovative computing solutions that accelerate biomedical discovery. As a full-service High-Performance Computing (HPC) center, SRE offers a comprehensive suite of personalized services to support investigators across all departments.
Whether you're constrained by local computing resources or need to scale up to multiple CPUs or GPUs for complex data analysis, SRE provides expert guidance and customized technology solutions to meet your research goals.
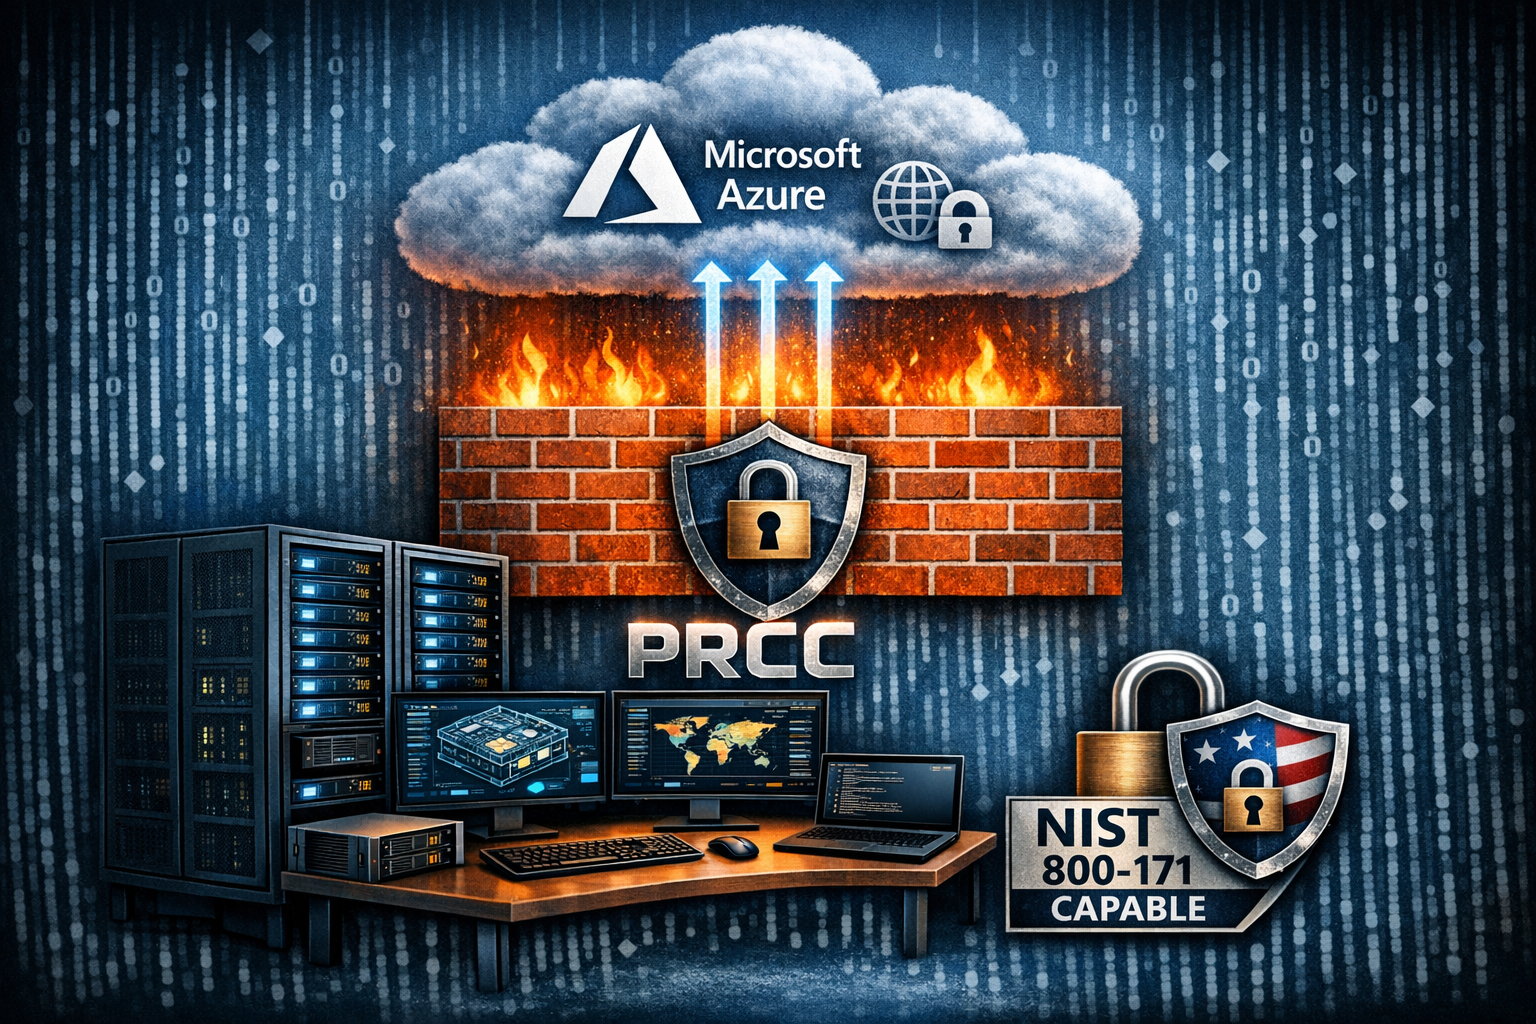
Protected Research Compute Cluster (PRCC)
Formerly PACE
Formerly PACE

Research Compute Cluster (RCC)
Formerly HPC
Formerly HPC
Which one is for me?
| Feature | RCC | PRCC |
|---|---|---|
| Data Sensitivity | Sensitive, consented PHI | Unconsented and fully-identified (PHI) |
| Compliance Level | NIST 800-171 capable | HIPAA, NIST 800-171 capable |
| Approved Data Types | dbGaP, genomic data | Duke Health patient data |
| Ideal Use Cases | Genomic research, deidentified datasets | Clinical Research, QI projects with PHI |